
1.1 Run CartPole
The preface established the basic reinforcement-learning problem. Part I begins with the smallest runnable task: first make CartPole training work, then use states, actions, rewards, and policies to explain why the agent learns to balance. The later treatment of MDPs, dynamic programming, and temporal-difference learning builds on this observable training loop.
Goal of this chapter: run your first RL training script from scratch and build an intuition for how an agent learns a policy by trial and error. No theory prerequisites are required.
📁 Chapter code: 1-ppo_cartpole.py · 2-pytorch_ppo.py · requirements.txt
Hands-On: Run CartPole Training
With the preface behind us, we can start hands-on. Recall the core RL setup: an agent interacts with an environment, repeatedly tries actions, receives reward signals, and gradually learns what decisions work best under different states.
So what counts as a "good decision"? We begin with a classic task: CartPole. Just like print("Hello World") is the first step in programming, balancing a pole with a few dozen lines of code is the standard first step into reinforcement learning.

CartPole-v1 after training the repository's pure PyTorch PPO with seed 42. Frames come directly from rgb_array rendering. The episode reached the 500-step limit; angles in the titles come from the recorded observations.You might ask: what hardware do you need to train such an agent?
In practice, this task is very light-weight. A normal laptop or desktop (Intel Mac, Apple Silicon, Windows/Linux) can run it:
- No GPU required: the compute is small; CPU training is enough.
- Very small model: the pure PyTorch Actor and Critic each use two 64-unit hidden layers, and the script runs on CPU by default.
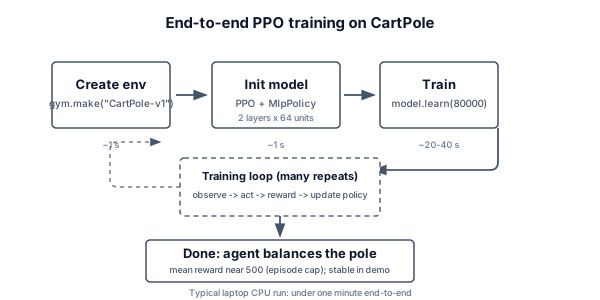
We will use Gymnasium (the current standard RL environment API) as the training arena, and Stable Baselines3 (SB3) as the algorithm library. If PyTorch is the parts to build a car, SB3 is a well-assembled engine: it packages PPO into a few lines of code.
This chapter does not require calculus or linear algebra. We will go straight into code and train a CartPole agent.
Step 1: Install Dependencies
First, open a terminal and install the environment and algorithm libraries:
pip install "gymnasium[classic-control]" stable-baselines3Note:
stable-baselines3depends on PyTorch. Since PyTorch is relatively large, this can take a while to download. This is the only heavy dependency install in Chapter 1.
Step 2: Run Training
Install the full requirements first:
pip install -r requirements.txtThis repo provides two CartPole implementations. Either one is fine as your first run:
- 1-ppo_cartpole.py: an SB3 PPO wrapper, best for a first successful run.
- 2-pytorch_ppo.py: a from-scratch PPO implementation in pure PyTorch, for understanding details.
Both scripts log metrics to SwanLab. After training, they can also run a visual demo window via --gui:
# Option A: SB3 wrapper (recommended first)
python 1-ppo_cartpole.py
python 1-ppo_cartpole.py --gui

# Option B: pure PyTorch version (if you want implementation details)
python 2-pytorch_ppo.py
python 2-pytorch_ppo.py --gui
To reproduce the measured curves in Sections 1.2 and 1.3, use the fixed configuration below:
python 2-pytorch_ppo.py \
  --seed 42 \
  --iterations 40 \
  --steps-per-rollout 2048 \
  --swanlab-mode disabled \
  --log-csv output/training_metrics_seed42.csv
The raw record is committed as training_metrics_seed42.csv, and plot_curves.py generates the page figures directly from that CSV.
After you run it, you will see training logs scrolling in the terminal. When training finishes, the model is saved under output/.
About --gui: training always runs headless (no rendering), so training speed is unaffected. --gui only controls whether a CartPole window is shown during the post-training demo. With GUI, each frame waits for screen refresh (roughly 16ms), so demos run slower; without GUI, the demo is pure computation and finishes in a few seconds.
Step 3: Where to View SwanLab Training Curves
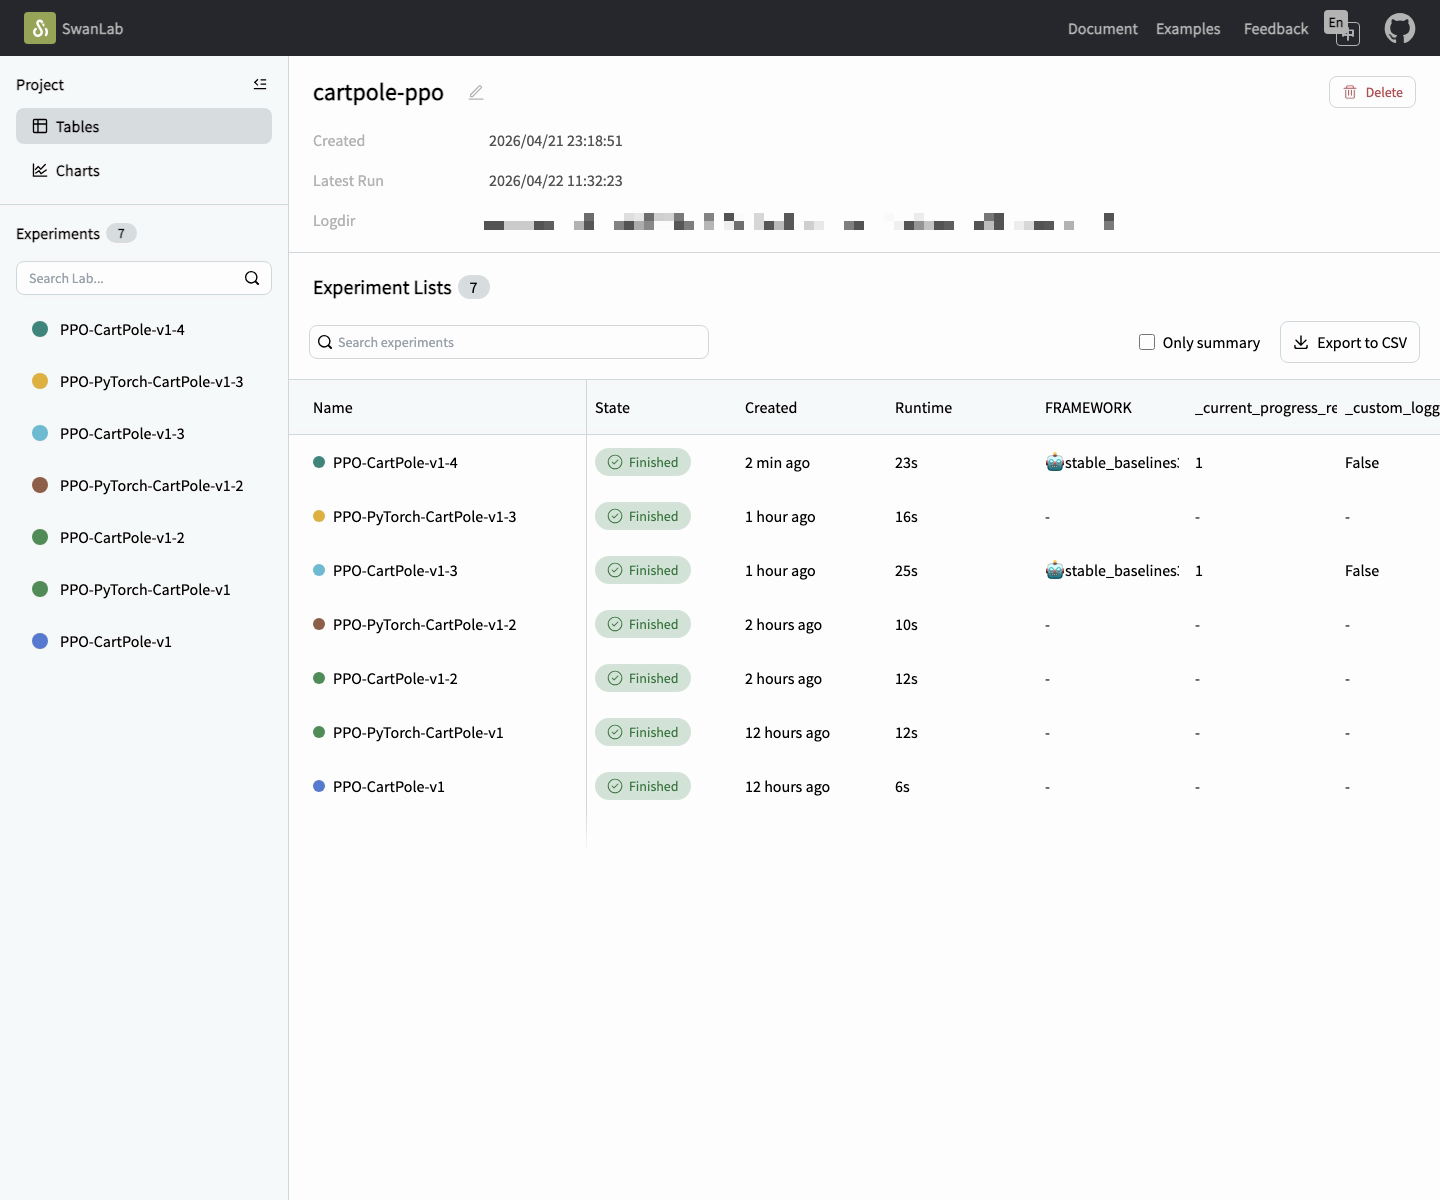
Both scripts default SwanLab to mode="local", so the most common workflow is to view a local dashboard. After training, run:
swanlab watch swanlogThen open either address in your browser:
http://127.0.0.1:5092http://localhost:5092
The following two screenshots are interface examples. They explain navigation and are not sources for the measured results in this chapter:
Inside an experiment, you will see a chart page like this:
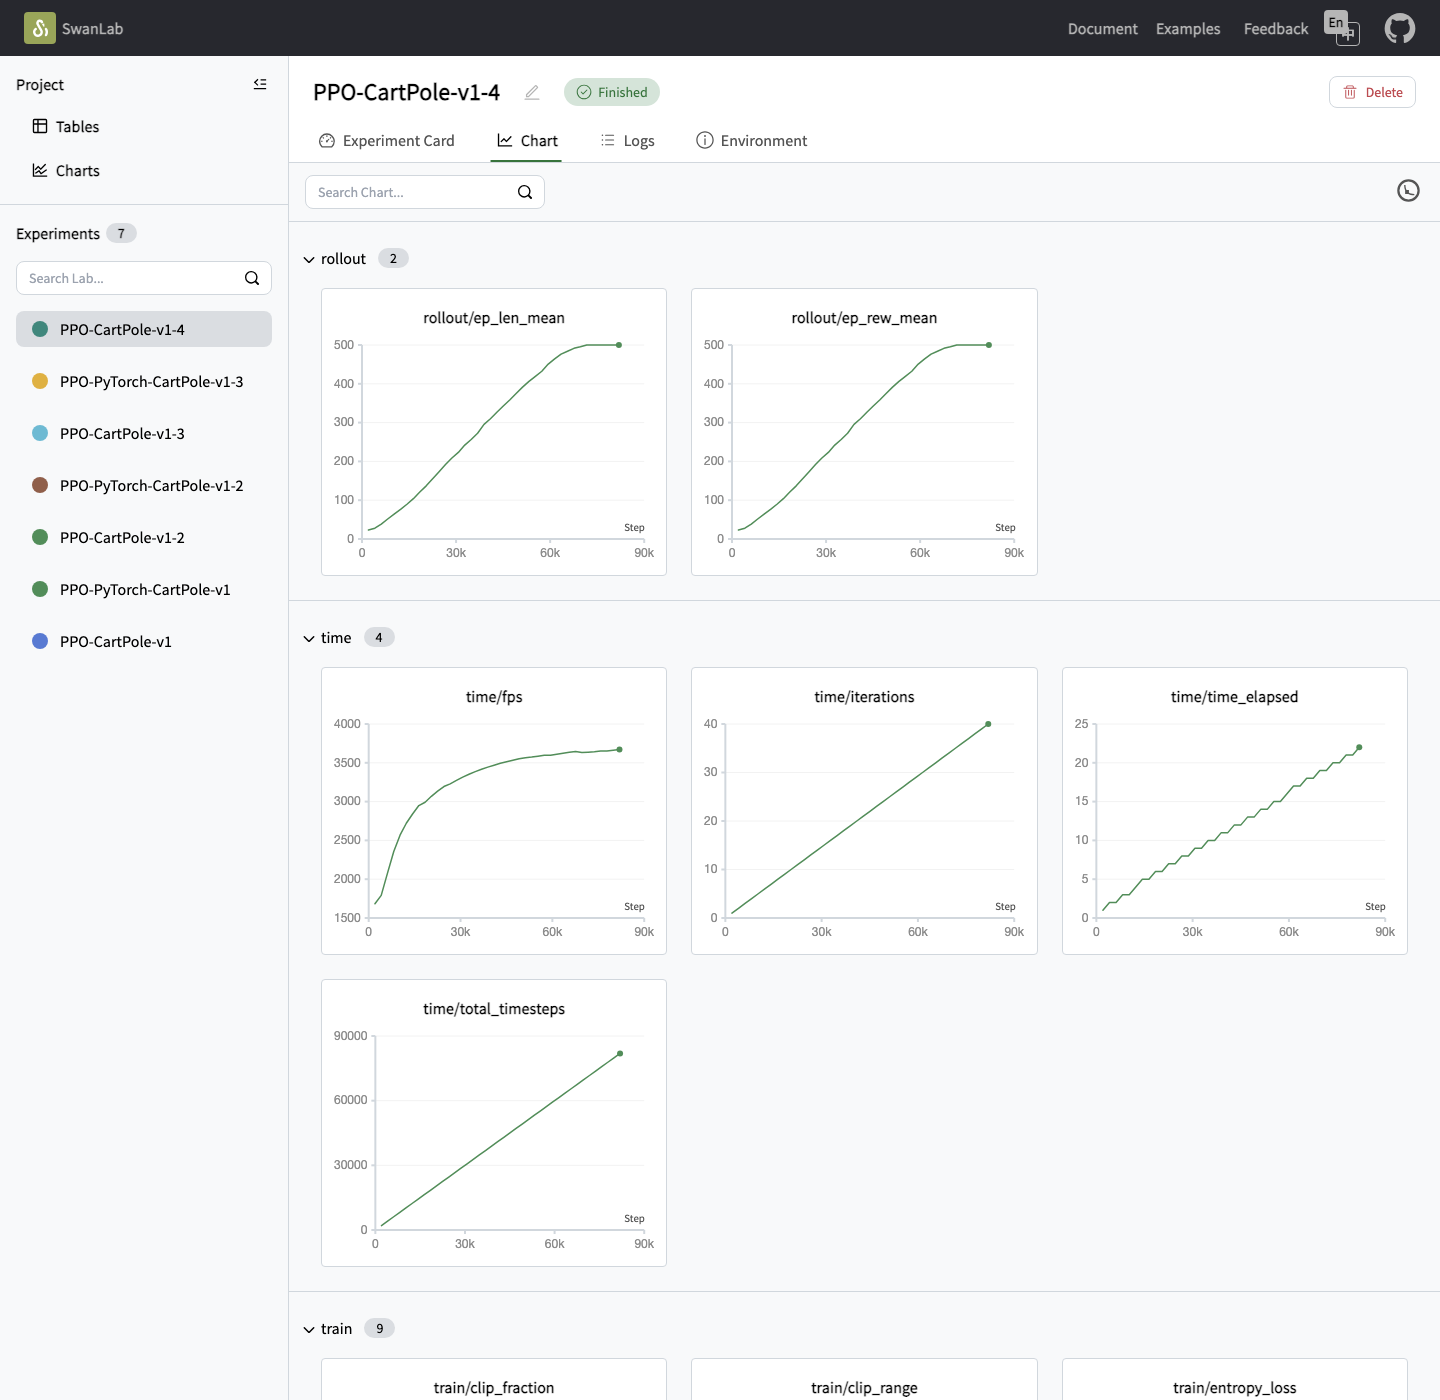
The first curve to look at is usually rollout/ep_rew_mean, the mean episode return. If it keeps rising, the agent is improving.
If you later switch SwanLab to cloud mode, the entry point is the SwanLab web console:
https://swanlab.cn
After logging in, you can view the same curves in your project/experiment pages. We start with local mode so you can see results without creating an account.
If you want to understand what each curve means, continue to the next section: Training Metrics.
# SB3 version shown below; the pure PyTorch version logs the same metrics but expands the PPO loop in full.
import gymnasium as gym
from stable_baselines3 import PPO
from swanlab.integration.sb3 import SwanLabCallback

env = gym.make("CartPole-v1")
model = PPO("MlpPolicy", env, verbose=1)

# Train (SwanLab logs reward curves and other metrics)
model.learn(
    total_timesteps=80000,
    callback=SwanLabCallback(
        project="cartpole-ppo",
        experiment_name="PPO-CartPole-v1",
        mode="local",
    ),
)

# Evaluate and save
mean_reward, std_reward = evaluate_policy(model, env, n_eval_episodes=10)
print(f"Training finished! Mean reward: {mean_reward} +/- {std_reward}")
model.save("output/ppo_cartpole")

# Demo (with --gui use render_mode="human"; otherwise run headless)
vis_env = gym.make("CartPole-v1", render_mode="human")  # or None
for episode in range(5):
    obs, info = vis_env.reset()
    ...
With just a few dozen lines of code, you have trained an agent that learns balance control by trial and error. What is happening inside this black box? The next sections, "Core Concepts" and "Training Metrics", will unpack it step by step.